Fixing Underwater Photos Part 2
After repairing the scratches in the underwater photo in part 1 of this tutorial, it's time to sharpen up the photo a bit. All the photos I took underwater came out on the soft side. While you can't get completely crisp images using software, Photoshop Elements does an excellent job of tightening up lines where it can.
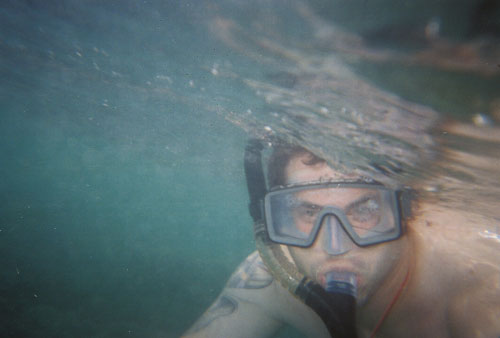
As you can see here, the image is definitely soft:
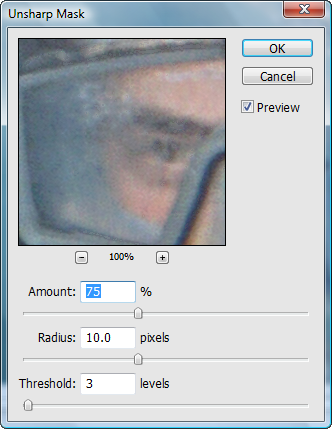
For this stage in editing the underwater photos, I'm using the Unsharp Mask tool in Photoshop Elements. You can locate this tool on the menu at Enhance > Unsharp Mask.
There are three settings here to work with:
Amount determines how much to increase the contrast of pixels.
Radius is used to identify how many pixels around edges to sharpen.
Threshold determines how far pixels must be from surrounding area in order to be considered an edge.
After experimenting with a number of settings, I went with an Amount of 75%, Radius of 10 pixels, and Threshold of 3 levels. Consider this a baseline and experiment to find settings that are perfect for you.
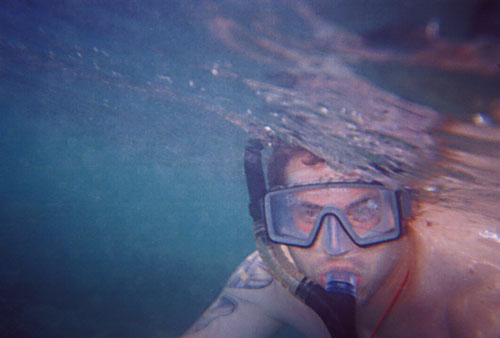
After applying the Unsharp Mask, the edges are much more crisp (although a better underwater camera rig may have helped in this situation as well).
Continue reading Part 3 of Fixing Underwater Photos