How to Upgrade Your Laptop Memory
One of the biggest performance boosts you can give your laptop or notebook computer is adding more RAM. It's often far cheaper to do this yourself than pay the extra dollars laptop manufacturers want to charge for the upgrade when you puchase. Luckily, RAM upgrades in laptops happen to be one of the easiest upgrades you can do on any computer. I'll show you the steps to take here through a series of photos and a quick video tutorial.
First, you need to get a memory upgrade for your computer. The easiest way to find out what type and how much RAM your computer supports is to use something like the Crucial Memory Calculator, which walks through a quick series of questions to determine your system configuration.
After you have your memory upgrade in hand, it's time to do the install.
Make sure your laptop is turned off and unplugged before beginning. First open the back panel of your laptop where the memory is located. Most laptops only have one panel that can be removed, if you have more than one panel, consult the laptop owner's manual to determine which panel hides the memory.
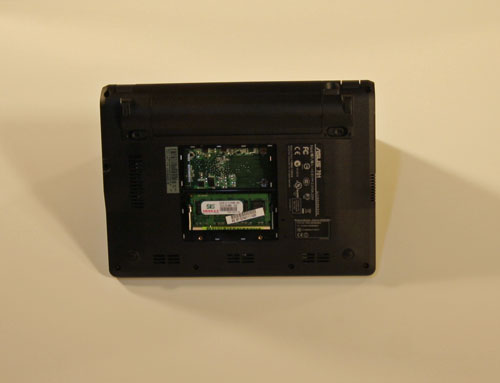
Here's the back of a laptop with the panel removed showing the memory:

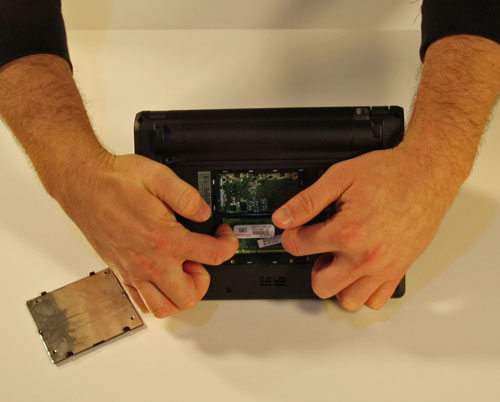
Remove the existing memory by pressing on the two tabs on either edge of the memory unit to release it:

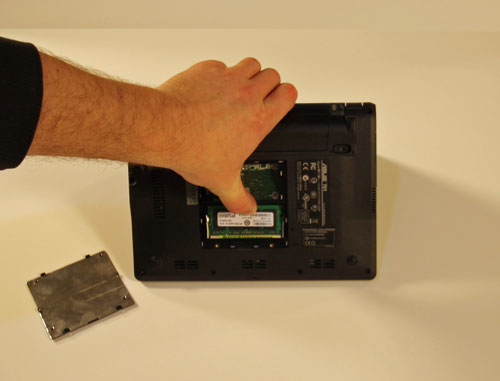
After removing the old memory unit, replace it with the new unit by fitting it into the memory slot and snapping it into place.

Close the back of the case and replace the screws, then turn on the laptop and start benefiting for more RAM. You can verify how much RAM your PC has by looking at the System Properties.
A more detailed demonstration is available by watching this one minute video: