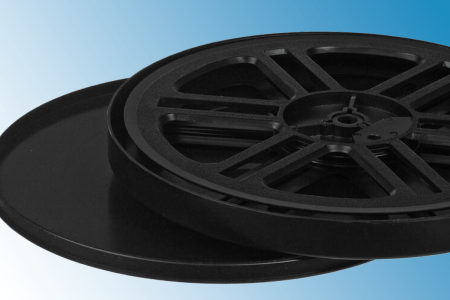
“I recorded an old 8mm movie by projecting it against a white wall and then recording it with my MiniDV Camcorder. When I finished recording the 8mm movie with my camcorder, I played back the tape and still ended up with some flickering in the recorded video. Is there any way to remove the flicker from my video?”
Recording 8mm movies with a camcorder is still the cheapest way to preserve them, but it’s not without a few hoops to jump through. If you have an 8mm projector with adjustable frame rate, you can generally get flickering down to zero by setting the projector’s frame rate to 20 frames per second. Since your projector may not support adjustable frame rate you need to use software instead. The best solution I’ve found (even compared to some that cost hundreds of dollars) is the freeware Deflicker filter for VirtualDub created by Donald Graft. Here’s how it works:
After you download VirtualDub and the Deflicker filter, you need to copy the Deflick.vdf file into the Plugins folder in the VirtualDub folders. This is important or you won’t be able to use the filter.
With the Deflicker plugin in the VirtualDub plugins directory, open VirtualDub and open your recorded video file. From the VirtualDub menu, choose Video > Filters. Click the Add button and scroll until you locate the filter in the list.

Double click on the filter to bring up the configuration screen. Initially you need to pay attention to only a couple of these settings:
Windows Size is important. This determines how the software looks for flicker. Many 8mm movies are either 18 frames per second or 20 frames per second. MiniDV is 29.97 in the U.S. and other places that use NTSC and 25 in the rest of the world where PAL is popular. You may have to try different settings, but in most cases a setting of somewhere between 8-10 will eliminate almost all flickering. If you have a newer camcorder that records 30p or 60p, setting it to 30p should give you a result similar to 29.97.

If your video was recorded using an interlaced camera (as most MiniDV camcorders are), check the box next to Interlaced source. If you have a newer camcorder that records progressive frames, you won’t need to check this box. Leave other settings in the deflicker filter set to the defaults. Softening works similar to smoothing between frames to reduce motion blurring, but can lead to smudgy video if overused. The Scene change threshold is set to determine when scenes change in the video – unless you notice loss of picture due to not setting this, leave it at 256, which means it’s disabled.
When you’ve tweaked the settings to your satisfaction, click OK until you get back to the main Virtualdub editing interface, then save your video.